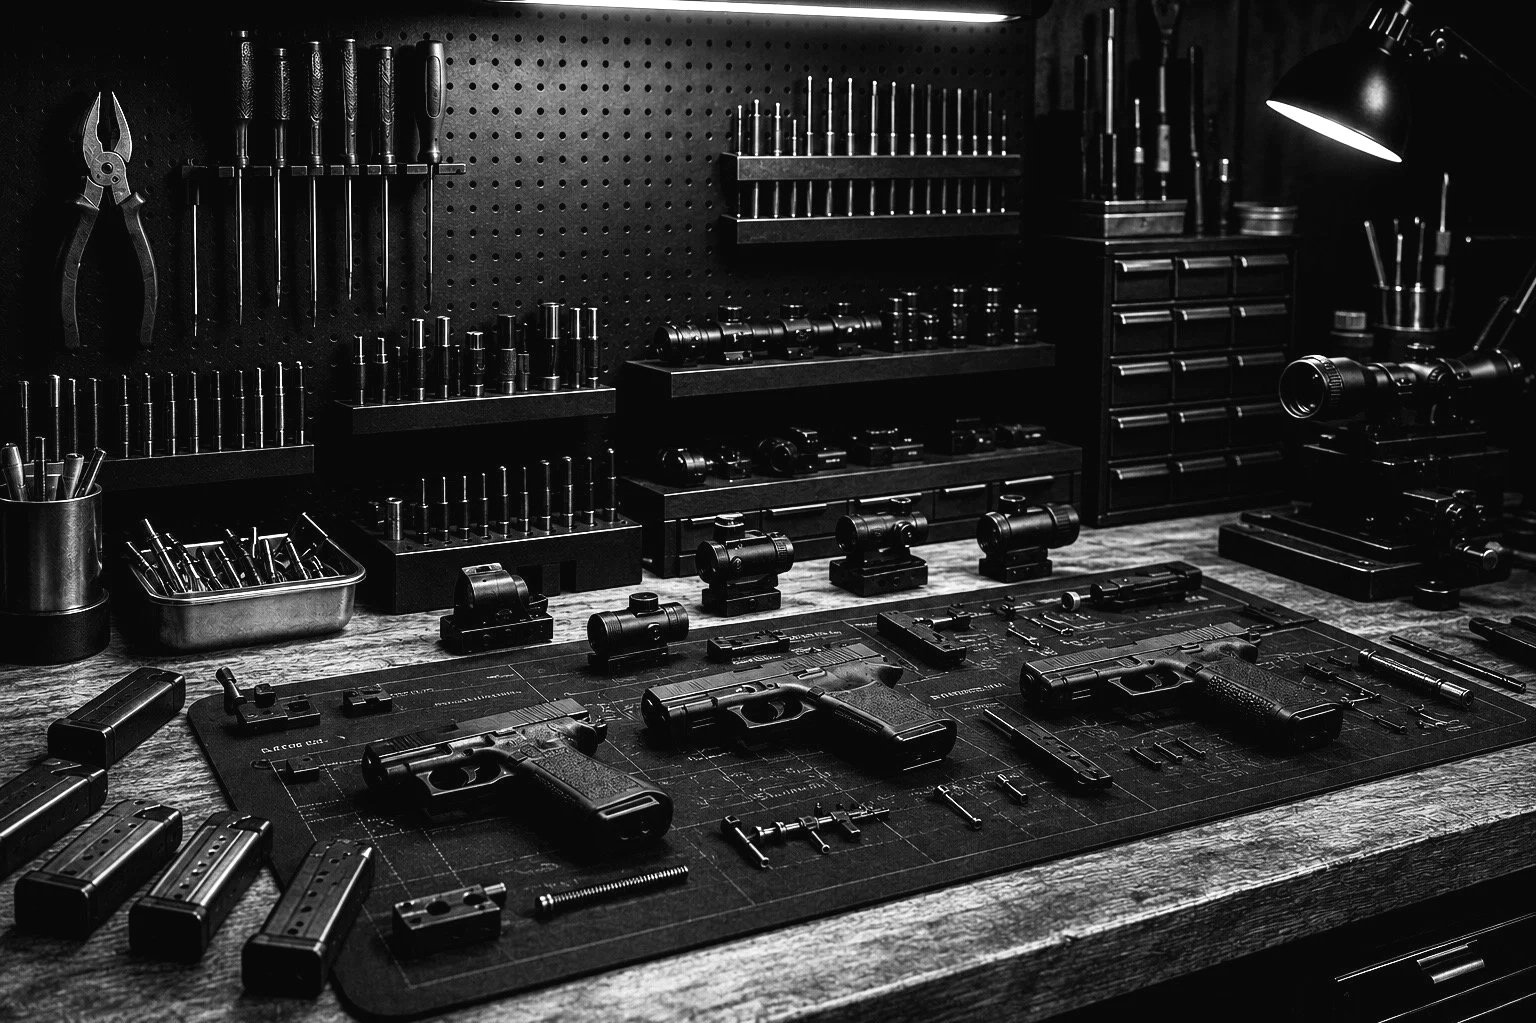
test fit & MOUNTING INSTRUCTIONS
TEST FIT
Verify optic fitment. Confirm the optic seats fully and flush on the plate.
Verify screw fitment (if applicable). If your optic requires mounting screws, test fit the supplied screws and ensure they do not protrude below the underside of the plate. Some optics utilize a clamp-style mounting system and do not require screws.
After confirming proper fitment, remove the optic and screws before proceeding.
Verify plate fitment. Test fit the plate to the slide and confirm it sits flush against the mounting surface.
Install the plate mounting screws and verify that there is no interference with any slide internals before proceeding to final installation.
INSTALLATION
Prepare the plate screws. Remove the plate mounting screws and apply the included Vibra-Tite® 123 threadlocker to the screw threads.
Using a properly fitting T10 Torx driver, secure the plate to the slide. Wiha Torx driver is recommended.
Glock, Walther, CZ, and Beretta: 10–15 in-lbs.
All other pistol models: 15–25 in-lbs.
Secure the optic using the appropriate mounting hardware and follow the optic manufacturer's recommended torque specifications. A torque value of 15–20 in-lbs is typical for optic mounting screws.
When installing an RCR optic, use the mounting screws supplied by the optic manufacturer.